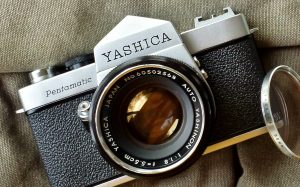
Part of the fun of collecting older film cameras is all of the neat “bits” that often come from finding the actual camera. There’s boxes, cases, instruction booklets, caps, auxiliary lenses, silica packs, brochures, ads and dozens of other silly stuff that adds depth to the find. I enjoy restoring and preserving the original boxes that the camera was sold with – often these items were simply tossed away after the camera was put into use. Boxes are actually harder to find and collect than the camera in many cases.
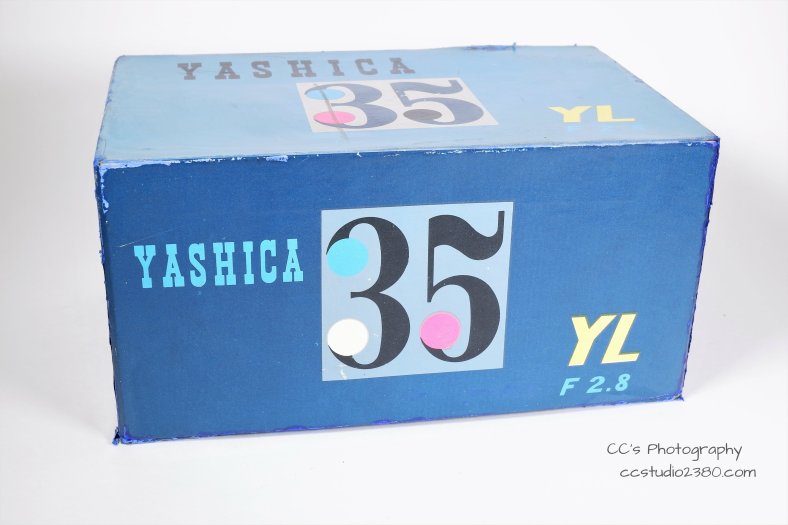
Here’s an example of a recent find – a nice Yashica 35 YL rangefinder set that I purchased from England.

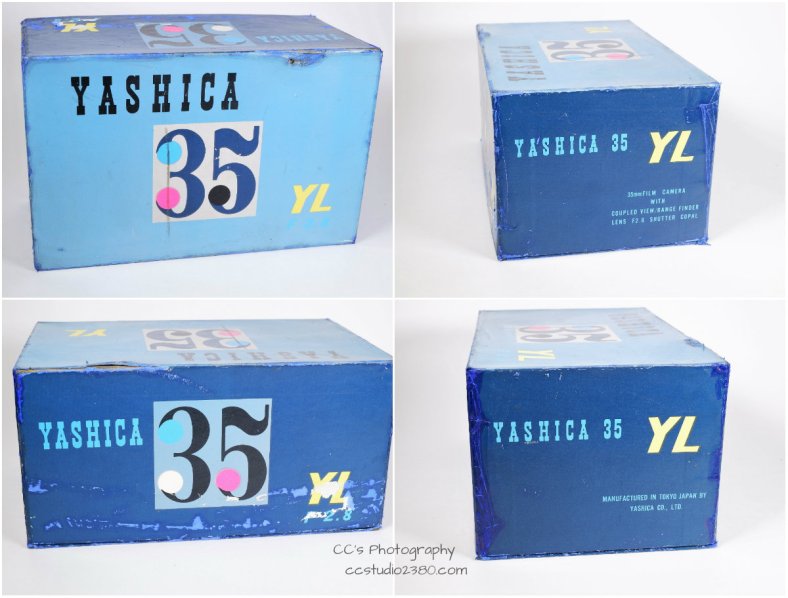
The image on the left is from the seller’s listing. The box has some obvious damage and serious staining but was overall still very solid. This camera set was made in November 1959 so it’s seen its share of shelf time and it shows. On the right is my first run in the process of restoring (preserving) the box. I gave it a good cleaning – yes, cleaning a paperboard box. I use a Mr. Clean Magic Eraser and gently scrub away nearly 60 years worth of soot, dirt and DNA from the surfaces of the paper. I can’t stress enough how careful you need to be with the eraser. Just a little bit of moisture and the right amount of pressure will do the trick. Let the paper tell you when you’re about to go “too far”. Let the box dry (it’s not really wet) before moving on to the next steps.
The next steps in the process of restoring a box are to carefully glue down any loose bits of the paper covering to prevent further damage and loss of details. In the image above, the box has been cleaned, loose paper secured and the bare edges where given a color coat with an alcohol marker in colors close to the original box colors. It’s a process of layering the color coats and blending them to achieve the desired results. I use these types of markers because of the wide variety of colors that are available and the fact that they apply a super thin layer of color without hiding details.
The box is much brighter and in my opinion, appealing. There’s still some additional coloring to be done but I’m happy with the results. The deep gouge shown in the upper left picture will be filled in with a mixture of colored paper and glue. It’s a bit of work but enjoyable.
Thanks for stopping by! – Chris
Please respect that all content, including photos and text, are the property of this blog and its owner, Yashica Pentamatic Fanatic, Yashica Sailor Boy, Yashica Chris.
Copyright © 2015-2018 Yashica Pentamatic Fanatic, Chris Whelan
All rights reserved.