I purchased a large collection of vintage photogear this week and of course, they’ll always be some victims of battery leakage mixed in. We’ve all been victimized by this process – we leave a battery (mostly alkaline) in a seldom-used camera, remote or toy only to discover that it doesn’t work when we go to use it. Even fresh batteries installed in a device can leak and corrode the battery compartment in as little as weeks! That’s right, I said weeks.
Caution!
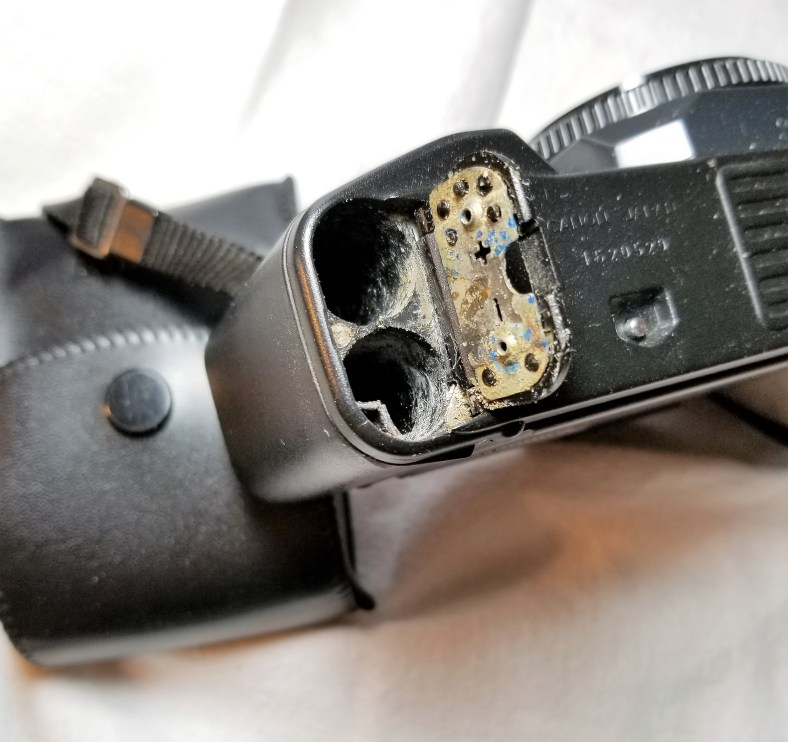
This battery compartment was so bad that I had to dig out the AA batteries with a screwdriver!
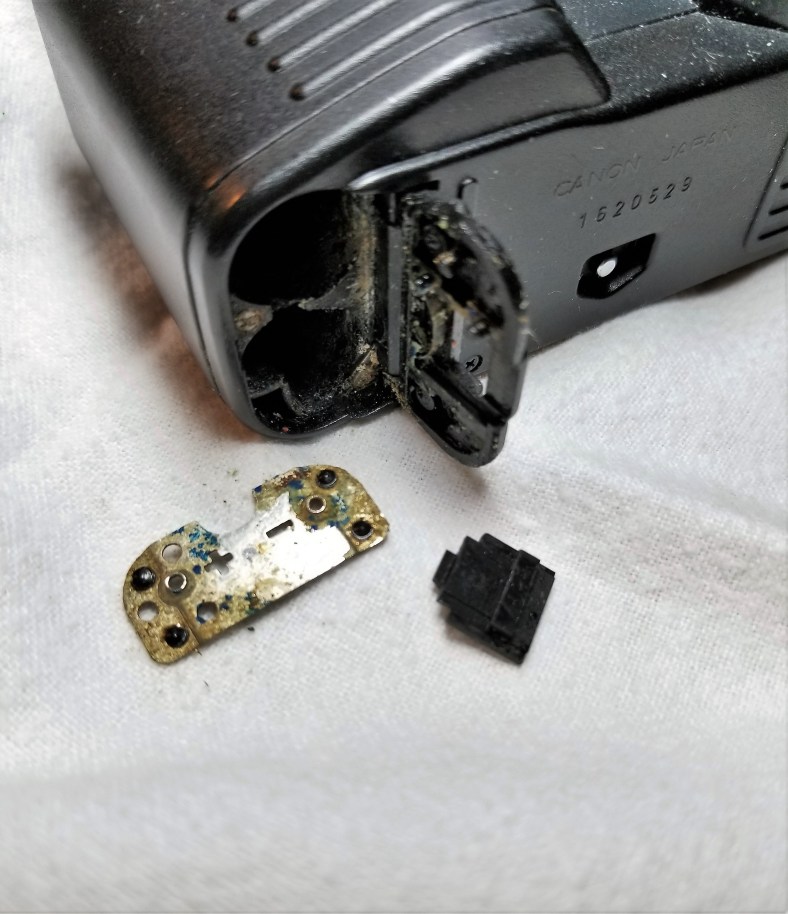
The corrosive acid from the battery destroyed the battery compartment cover and latch.
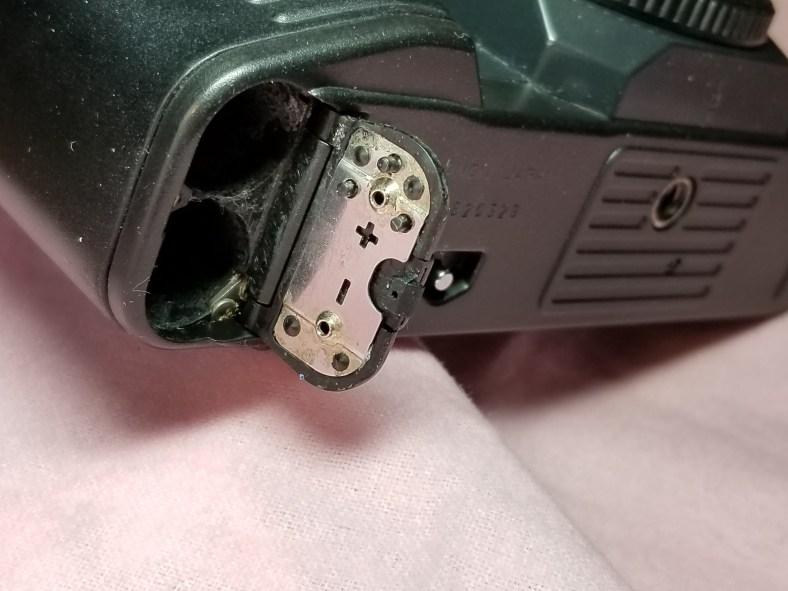
The same camera with the corrosion removed and the compartment door repaired. The camera is fully operational again. It’s still a bit ugly but at least it works.
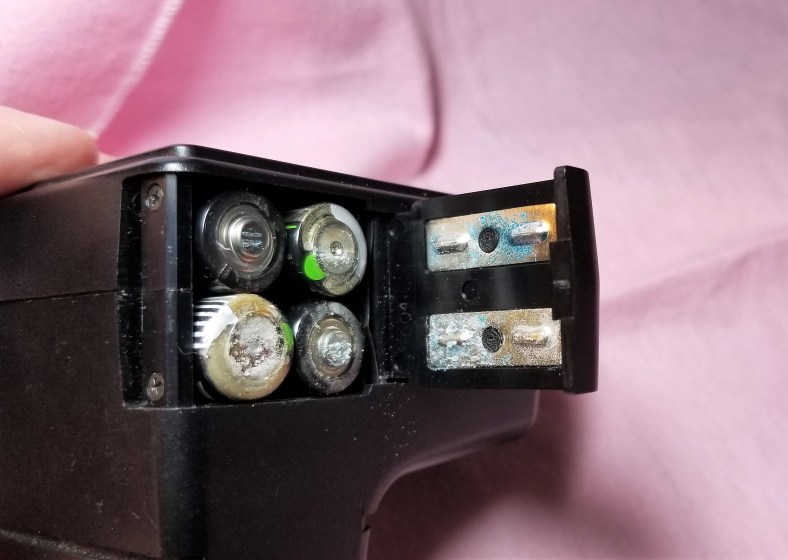
Electronic flash units are notorious for finding battery corrosion. I believe that the slight continuous drain on the battery (called parasitic drain) expedites battery failure – sometimes in as little as three weeks!
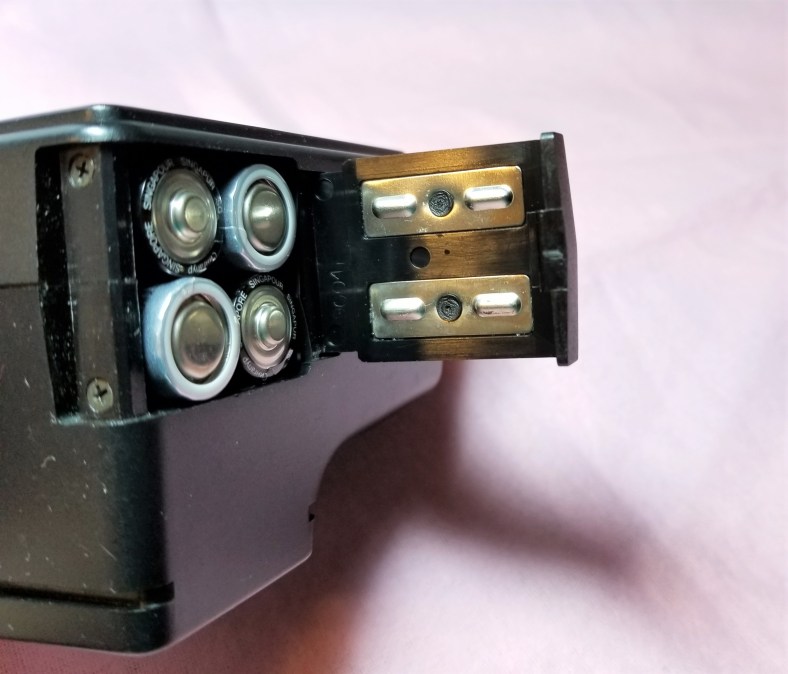
Same flash unit – clean and fresh and fully operational!
The best and safest way to clean these corroded contacts is with a cotton swab (Q-tip) dipped in straight white distilled vinegar. Go slowly, don’t touch the corroded batteries and gently dab the vinegar on the corrosion (you’ll see it bubble). Use plenty of swabs and reapply the vinegar being extremely careful not to oversoak the part. Too much fluid may migrate deeper inside your camera or flash causing additional and often fatal damage. I finish with a swab dipped in Windex and gently clean the metal and plastic surfaces until shiny. I’d say I’m successful about half of the time – it’s harder to save flash units as the corrosive gases often migrate internally to critical circuits destroying them beyond repair.
On cameras where the battery compartment is away from critical circuits will have a better chance of being rescued. Give it a try if you discover that this corrosive mess is trying to destroy your fun (and device). It just may work. Please note, the chemicals that you are using and exposing yourself to are DANGEROUS and you should exercise extreme caution whenever attempting to salvage a corroded part. Wash your hands afterward and keep your fingers away from your mouth and eyes! There, the legal part is done!
While repairing a Pentax ME Super’s baulky mirror (staying in the up position) I noticed these numbers beneath the camera’s base plate. They look like a date to me, possibly a manufacture date. The 55 looks to be the year using the Japanese Showa date. To convert this into a Western date simply add 25 (1980). Of course, the next two numbers should be the month and day (August 30). This fits within the manufacturing dates of the camera which are reported to be 1979-1984. Do you have a Pentax? If you’re interested to see your date code simply remove the 3 tiny screws (be careful, they are small and often grow legs after removing them) taking note as to which screw was removed from which hole.
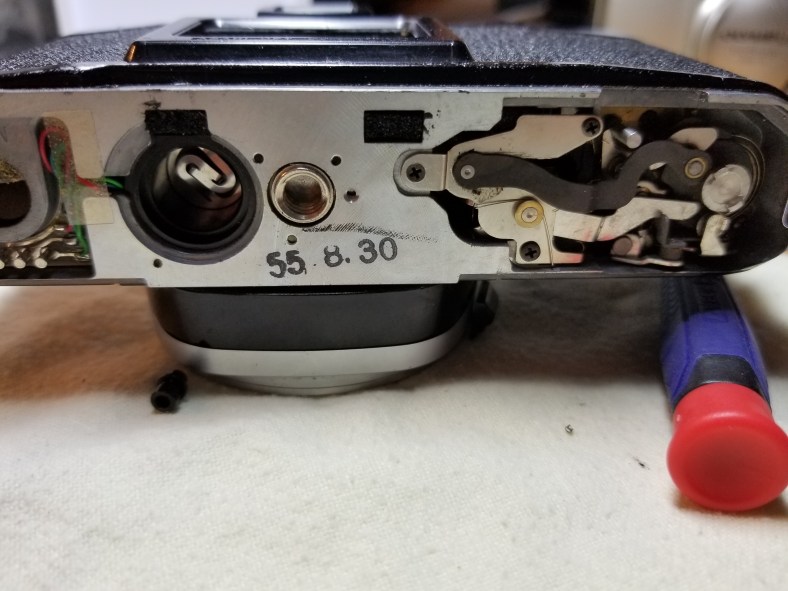
With the bottom plate removed on this Pentax ME Super, you’ll see a date code (maybe) similar to this one. The first two numbers are the Showa date. Add 25 to that date to arrive at the Western year (55 + 25 = 80) 1980.
Thanks for stopping by and have a great weekend! – Chris
Please respect that all content, including photos and text, are the property of this blog and its owner, Yashica Pentamatic Fanatic, Yashica Sailor Boy, Yashica Chris.
Copyright © 2015-2019 Yashica Pentamatic Fanatic, Chris Whelan
All rights reserved.
