New In the Shop – 9.20.2019

Happy Friday everyone! Some interesting items have hit the shelves in the shop this week at http://www.ccstudio2380.com

Now everything’s 10% off! Special sale through the end of September!

shop snip 9.20.2019

Visit http://www.ccstudio2380.com and see 10% savings on everything!

snip 2 9.20.2019

There’s many more items listed in my shop at http://www.ccstudio2380.com – some with free USA shipping!

If you have a question about something or if you’d like a shipping quote please contact me at ccphotographyai@gmail.com

Thanks – Chris

Yashica on Broadway 1962

November-December 1962. Yashica billboard in NYC.

Yashica Ad NYC

Yashica Billboard NYC Xclose

Yashica ad from late 1962 features a typical TLR, rangefinder, and SLR popular at that time.

“Yashica Cameras, The World Over”

Yashica Billboard NYC 1

Loew’s State Theatre located at 1540 Broadway, was running the just-released “Mutiny on the Bounty” at the time these photos were taken.

Thanks for stopping by! – Chris


Yashica TL-Super!

Another look at this groundbreaking camera from Yashica. This was the start of something big – very big!

Yashica TL-Super with Box

Chris and Carol's avatarChasing Classic Cameras with Chris

Another big step in Yashica’s growth was the groundbreaking introduction of the TL-Super in 1966. Yashica started making 35mm single-lens reflex (SLR) cameras in 1959 with the Pentamatic ’35’. The Pentamatic was a solid first offering by Yashica but it was a timid first step. On one hand, the Pentamatic was a beast but lacked some serious upgrades… no self timer and no built-in exposure meter. The self timer was not much of an issue as Yashica made an accessory timer that could be used on many of their camera platforms and was simple to use. There was an option to buy a separate exposure meter (more money) and slide it on the accessory shoe so that at least you didn’t have to hold a meter in your hand to take a meter reading. Awkward. What was groundbreaking for the TL-Super is the fact that two CdS resistors were mounted…

View original post 467 more words

Exploring the early days of Yashima (Yashica) – 1954

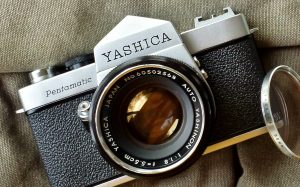
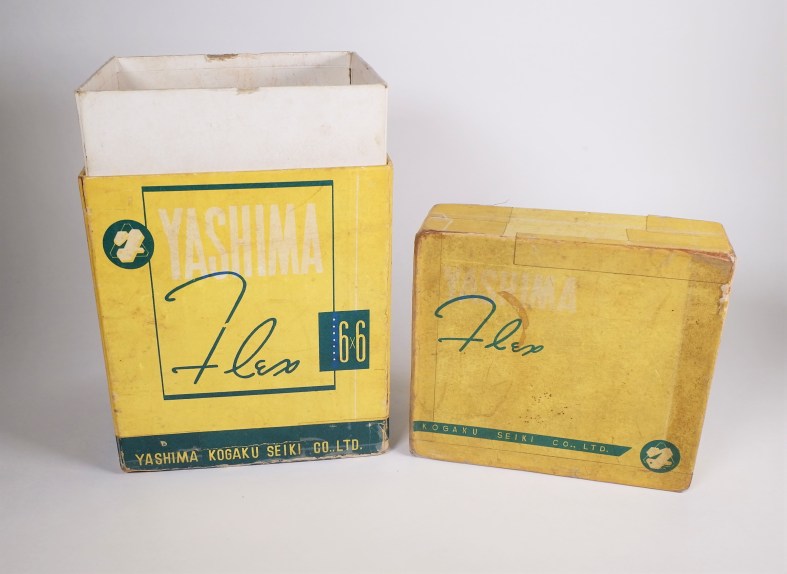
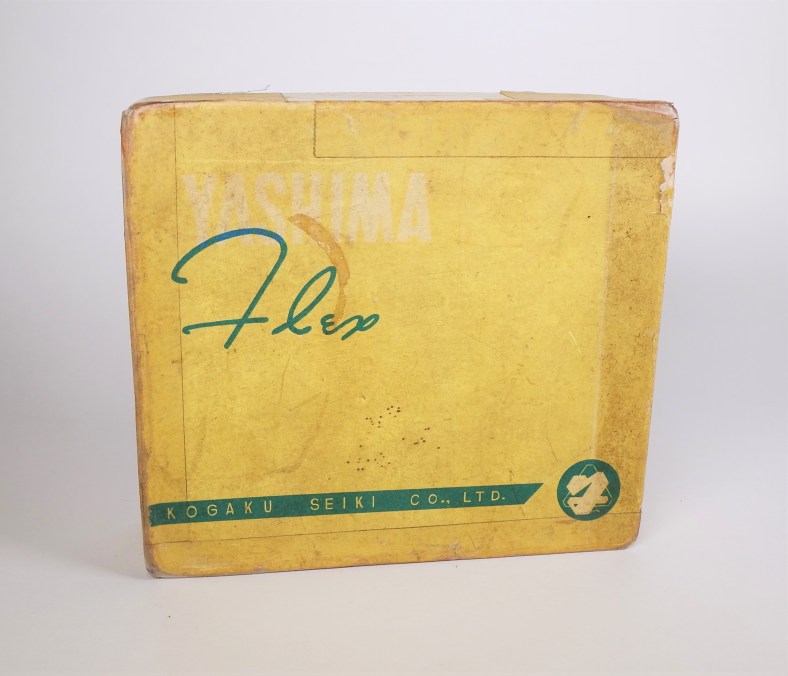
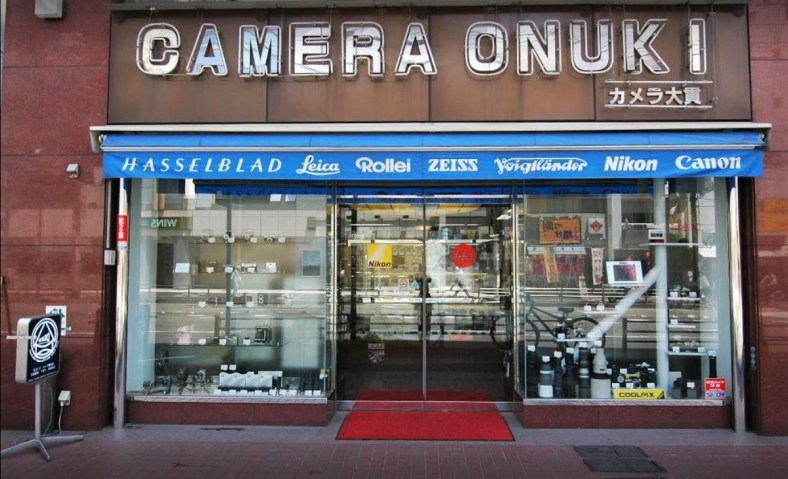
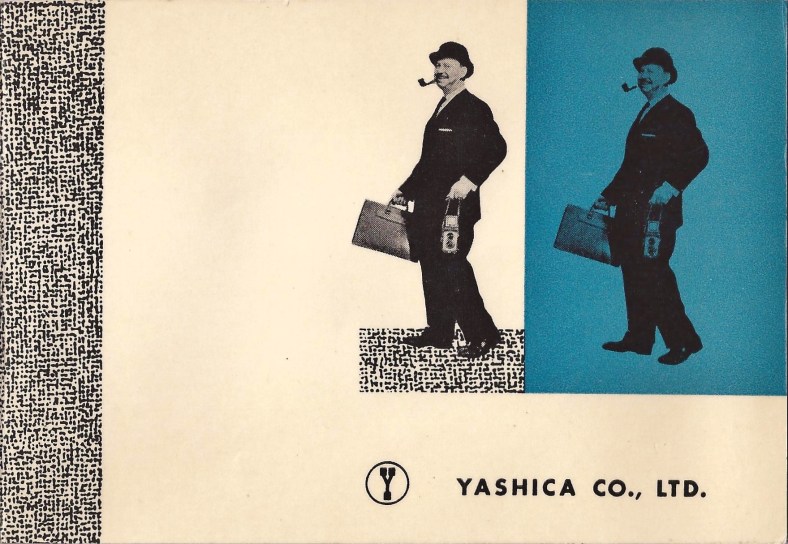
From 1950 through 1955 literally hundreds of photographic startups were hoping to capitalize on the booming post-war camera craze sweeping Japan and the United States. Many would fail and fail quickly but many went on to prosper and achieve phenomenal success by the end of the decade. This was Yashima’s first camera to carry the company name – the Yashima Flex.

I’m going to focus on what would appear to be just a simple thing – something that would be thrown away as soon as the camera was unboxed. This inspection tag and the guaranty document can tell us a lot about the company that went on to become an international innovator of quality cameras at an exceptional value. Her’s the story.

YashimaFlex Tag Paul Version (1)

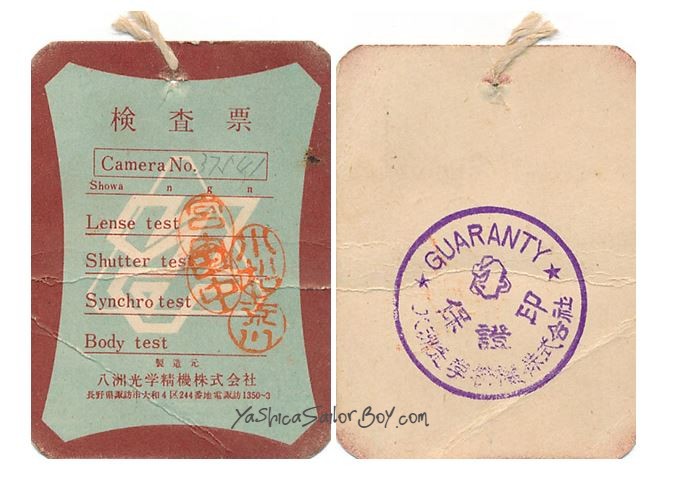
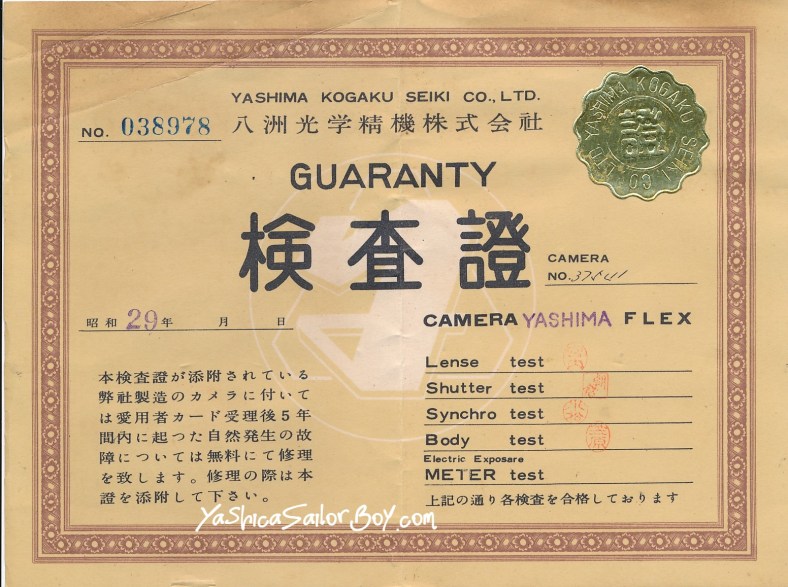
Original “Inspection Form” that came with my Yashima Flex TLR. This is the earliest one found so far and it’s amazing that it made it the 65 years since it was first filled in.

For such a young company, Yashima looked as though it cared about producing a quality camera that would function as designed right out of the box. This tag was with my recently acquired Yashima Flex TLR which was sold in May 1954 at a camera shop in Yokohama. I’m going to speculate that the tag was completed and the various tests performed while the camera was still on the factory floor. My translation app hasn’t done a very good job with translating all of the tag but I do get “Inspection Form” across the top and of course, the company name, address, and phone number across the bottom. The camera’s serial number has been entered but not the Showa date info (what a shame). It’s interesting to note that the different tests are written in English for a camera that probably wasn’t meant for export. The red stamps are from each stage of the process and identify each inspector.

The reverse side of the tag has the word “Guaranty” clearly stamped with the company logo just beneath it. I don’t know the meaning of the “EP” and I don’t have a clear translation of the kanji across the bottom half.

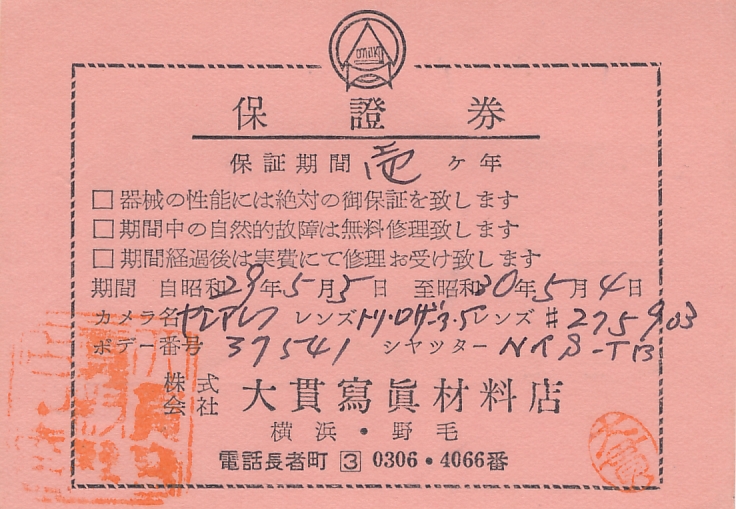
Later in the process of readying the camera for distribution to the trading company, the formal Guaranty Certificate was included (see below).

Yashima Flex Guaranty Card

Original Guaranty Certificate that accompanied the camera set.

What I find most intriguing is that the camera received another round of tests with a different group of inspectors. Back in 1954 in such a new company that’s impressive and previously undocumented. This certificate does carry a date indicated by Showa 29 which is 1954. I’m further impressed by the fact that they had a stamp for the name of the camera and that the certificate has a line for an Electric Exposure Meter Test when no camera existed yet with a meter. The Yashica Flex model S (first TLR with a meter) was not yet released but must have been close to being finished.

Admittedly none of this is world-shaking info but to a lifelong Yashica collector and researcher, this is BIG. Every little clue sheds more light on the earliest days of this famous company.

Thanks for stopping by! – Chris

Please respect that all content, including photos and text, are the property of this blog and its owner, Yashica Pentamatic Fanatic, Yashica Sailor Boy, Yashica Chris.

Copyright © 2015-2019 Yashica Pentamatic Fanatic, Chris Whelan
All rights reserved.

Yashica Flex S Instructions

Yashica Flex S Inst (1)

Ultra rare and very early Yashica Flex Model S instructions. Not many of these leaflets survived their journey through time. This one is barely holding on to life. A small peek at Yashima’s early days before becoming Yashica. By the way… this camera was the first Japanese made TLR with a built-in exposure meter! A pretty modern concept in 1954!

Thanks for stopping by! – Chris

Please respect that all content, including photos and text, are the property of this blog and its owner, Yashica Pentamatic Fanatic, Yashica Sailor Boy, Yashica Chris.

Copyright © 2015-2019 Yashica Pentamatic Fanatic, Chris Whelan
All rights reserved.

Restoring a vintage camera box – carefully.

Collectors are a strange lot – for many it’s the thrill of the chase and the found item quickly fades into the background. For me, since I collect vintage cameras and photo gear, the items I purchase are often fifty or more years old and some like this box are as old as I am. In this case, this Yashima Flex box is sixty-five years old – vintage just like me.

When I collect items such as this, I enjoy not only the thrill of the chase but the history behind the item – where was it sold originally and if I can, when was it sold. In this case, Yokohama, Japan and 1954. I also enjoy restoring my cameras and associated bits as not only a way to preserve them but also to increase their value for when it’s time to pass them along to the next collector.

DSCF6585

“Fresh” from Japan – my 65-year-old Yashima Flex TLR presentation box complete with six decades of dirt, soot, DNA and grime. Although someone taped the box together years ago (I’m not a fan of doing that) it at least kept the box in one piece.

Step one (for me) is to clean the surfaces of all that grime. Often with these paperboard boxes, mold will grow in the layers of dirt and the mold spores will eventually break down the paper. In many cases, the mold (and mildew) will permanently stain and discolor the paper (not good). This box does have permanent staining but at least it should stop spreading.

***Please Note: I’ve cleaned about a dozen or so boxes like this one over the years, mostly boxes from the 1950s and mostly boxes made for Yashima-Yashica cameras. Your box may differ in its construction and the paper may respond to cleaning in a less than desirable way. One of the first things you should do is test this cleaning method on an inconspicuous part of the box.

DSCF6591

Mr. Clean is all you need (and a steady hand). The secret to cleaning the box with a Magic Eraser is to use a very lightly moistened pad (rinsed regularly) and to apply steady gentle pressure.  No scrubbing! It will take several passes with the pad to remove all of the grime. Do not let the paper get too wet and always give the surface a chance to dry before recleaning.

DSCF6586

Before cleaning. Pretty dirty – pretty nasty.

DSCF6587

After only a few gentle passes with the Magic Eraser (top part), things are looking much better. It’s not going to clean everything off the paper on your first attempt and you’ll likely need to repeat the process. Slow and steady wins the race – you’re only trying to remove the soil and not damage the delicate paper.

DSCF6588

Sixty-five years of grime – removed.

DSCF6589

Steps two, three and more I’ll cover in another post. For now, I’ll need to finish cleaning the remainder of the box. My future plans call for stabilizing the structure of the box (a bead of clear glue along the inner seams) and a go at removing the exterior tape.

Thanks for stopping by! – Chris

Please respect that all content, including photos and text, are the property of this blog and its owner, Yashica Pentamatic Fanatic, Yashica Sailor Boy, Yashica Chris.

Copyright © 2015-2019 Yashica Pentamatic Fanatic, Chris Whelan
All rights reserved.