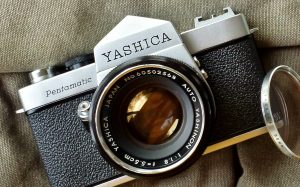
Collectors are a strange lot – for many it’s the thrill of the chase and the found item quickly fades into the background. For me, since I collect vintage cameras and photo gear, the items I purchase are often fifty or more years old and some like this box are as old as I am. In this case, this Yashima Flex box is sixty-five years old – vintage just like me.
When I collect items such as this, I enjoy not only the thrill of the chase but the history behind the item – where was it sold originally and if I can, when was it sold. In this case, Yokohama, Japan and 1954. I also enjoy restoring my cameras and associated bits as not only a way to preserve them but also to increase their value for when it’s time to pass them along to the next collector.
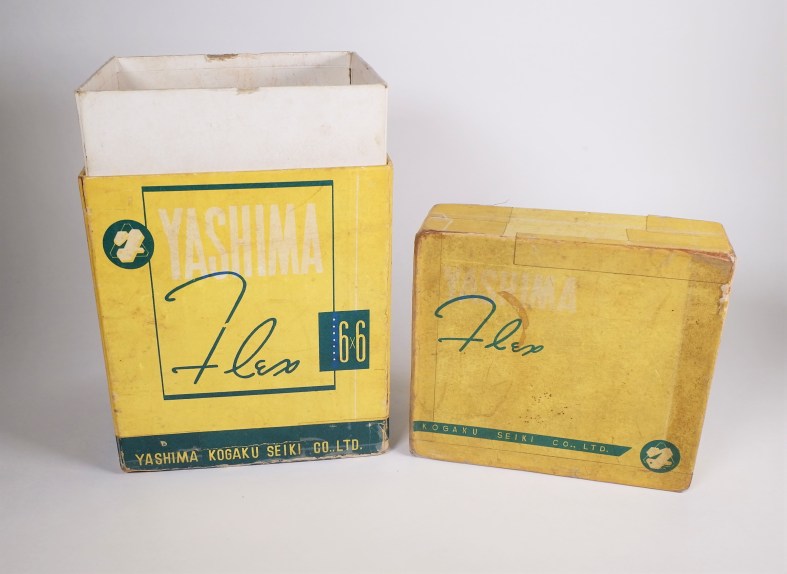
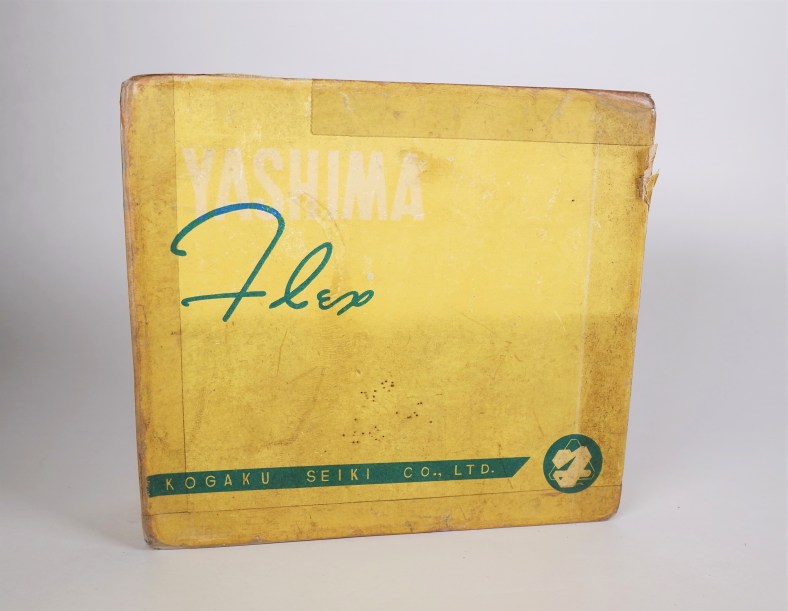
“Fresh” from Japan – my 65-year-old Yashima Flex TLR presentation box complete with six decades of dirt, soot, DNA and grime. Although someone taped the box together years ago (I’m not a fan of doing that) it at least kept the box in one piece.
Step one (for me) is to clean the surfaces of all that grime. Often with these paperboard boxes, mold will grow in the layers of dirt and the mold spores will eventually break down the paper. In many cases, the mold (and mildew) will permanently stain and discolor the paper (not good). This box does have permanent staining but at least it should stop spreading.
***Please Note: I’ve cleaned about a dozen or so boxes like this one over the years, mostly boxes from the 1950s and mostly boxes made for Yashima-Yashica cameras. Your box may differ in its construction and the paper may respond to cleaning in a less than desirable way. One of the first things you should do is test this cleaning method on an inconspicuous part of the box.
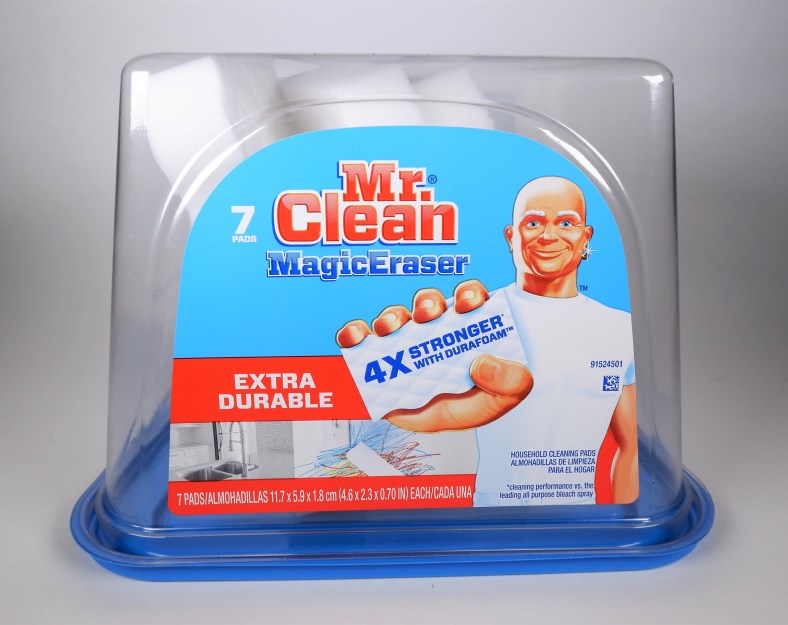
Mr. Clean is all you need (and a steady hand). The secret to cleaning the box with a Magic Eraser is to use a very lightly moistened pad (rinsed regularly) and to apply steady gentle pressure. No scrubbing! It will take several passes with the pad to remove all of the grime. Do not let the paper get too wet and always give the surface a chance to dry before recleaning.
Before cleaning. Pretty dirty – pretty nasty.
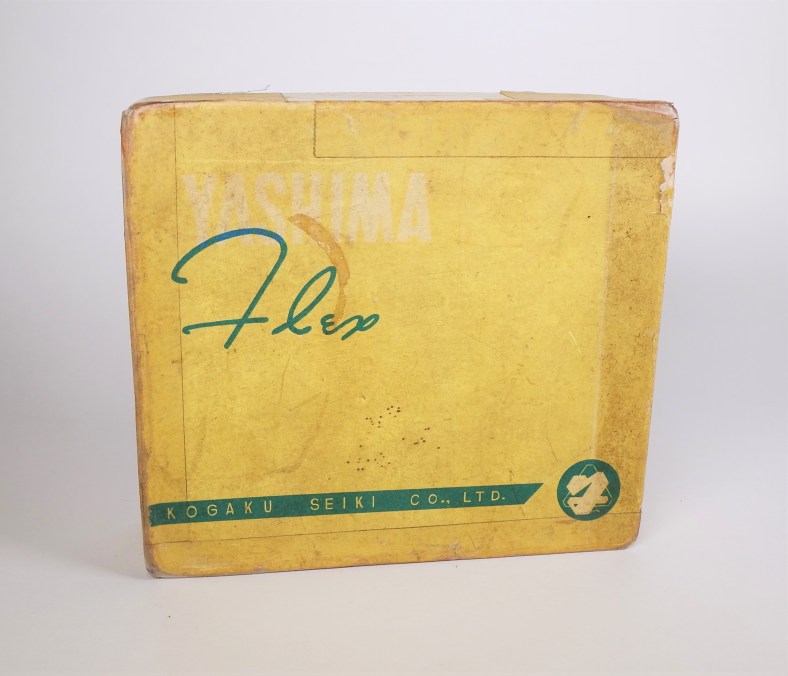
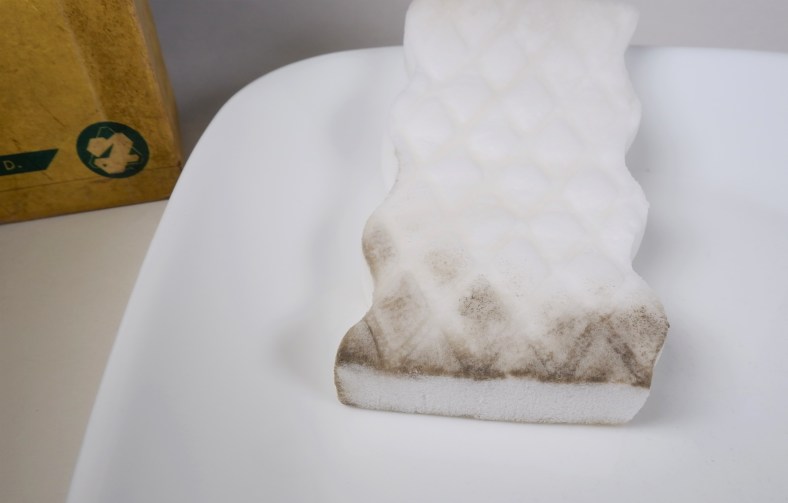
After only a few gentle passes with the Magic Eraser (top part), things are looking much better. It’s not going to clean everything off the paper on your first attempt and you’ll likely need to repeat the process. Slow and steady wins the race – you’re only trying to remove the soil and not damage the delicate paper.
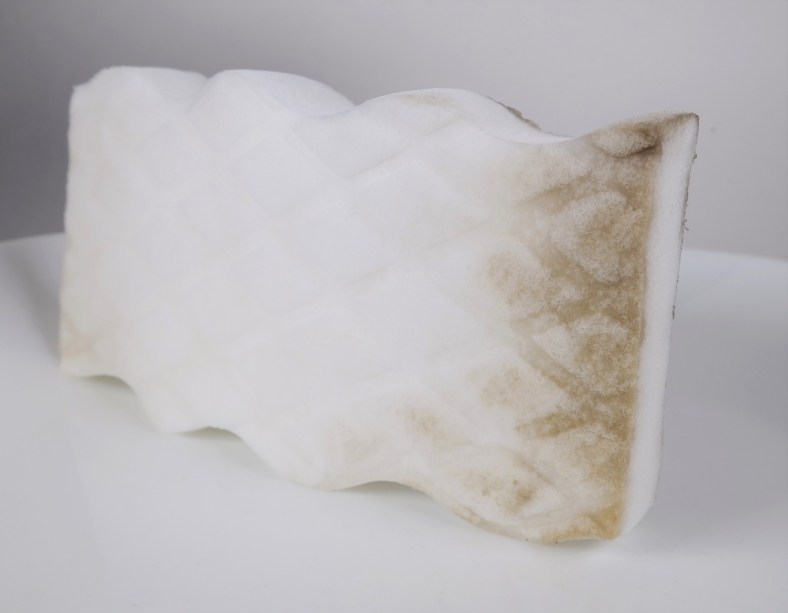
Sixty-five years of grime – removed.
Steps two, three and more I’ll cover in another post. For now, I’ll need to finish cleaning the remainder of the box. My future plans call for stabilizing the structure of the box (a bead of clear glue along the inner seams) and a go at removing the exterior tape.
Thanks for stopping by! – Chris

I used to enjoy trying to fix things when I could find them cheaply. How I have less patience for that and for the amount I pay I want it to work. I admire your dedication to the smallest detail.
LikeLiked by 1 person
Thanks, Peggy! I admire your inventiveness when it comes to getting a camera to work for you. I know what you mean though, sometimes you just want the darn thing to work without all of the messing around.
LikeLike
I feel the exact same way as you’ve described in this blog about my collection. Also, I didn’t know you could use mr clean eraser pads on the boxes. Thank you for that tip. I’ll try that out in the future.
LikeLiked by 1 person